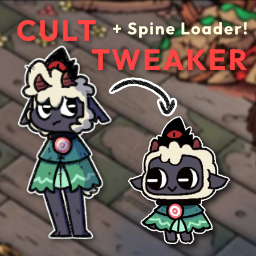
CotLSpineLoader
Also known as [CultTweaker]! This mod allows you to add custom stuff yourself, such as custom player skins, items, structures and more!Links
- Read more about my mods at my Website
- Join the discord server for support, feedback, suggestions and general modding talk: modding discord
- If you like the mod, consider donating here! Thank you for checking out the mod!
Cult Tweaker + Spine Loader
Features:
- Fleece Transmog for all player skins (Including Custom Player Skins)
- Custom Player Spines [Multi Skin Select]
- Full Follower Customization + Custom Follower Forms
- Override Existing Structure Designs
- Custom Dungeons [Experimental!]
- Custom Data Loader - create your own custom stuff!
- Custom Items
- Custom Food [WIP]
- Custom Structure
- Custom Tarot Cards
- More to be supported soon
Custom Dungeons [Experimental]
Supports creating custom dungeon runs. This is an experimental feature that will be improved over time.
Currently, you can only code a custom dungeon, JSON is not supported yet.
You can specify the number of rooms and type of enemies to spawn in the dungeon, you can also specify what happens when the dungeon level completes. (once you reach the end room door, the dungeon completes. You can continue a new dungeon level, go back to base, etc..)
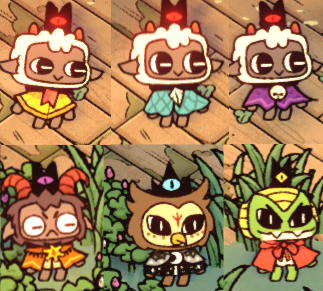
Fleece Transmog for all player skins
By pressing F7 (player 1), or F8 (player 2), you can swap between all possible visual fleeces on each of the player skins (lamb, goat, snake, owl) on the fly! You can swap visual fleeces anytime, anywhere. Press F9 to toggle on or off fleece cycling.
Custom Player Spine
Add your own Player Spine into the game! Completely change the look of your lamb!

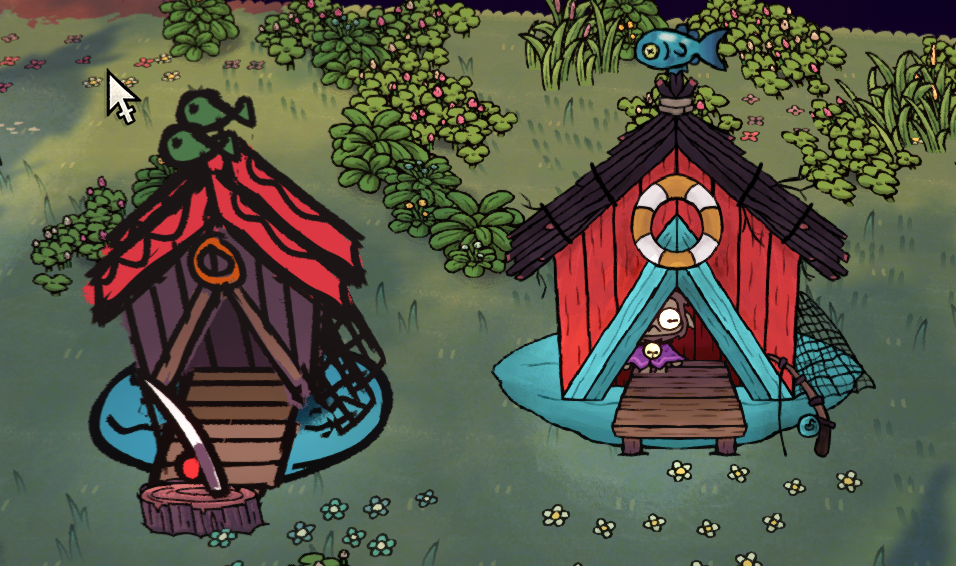
Override Existing Structure
Change the looks of any Structure! (right side is changed)
Full Follower Customization
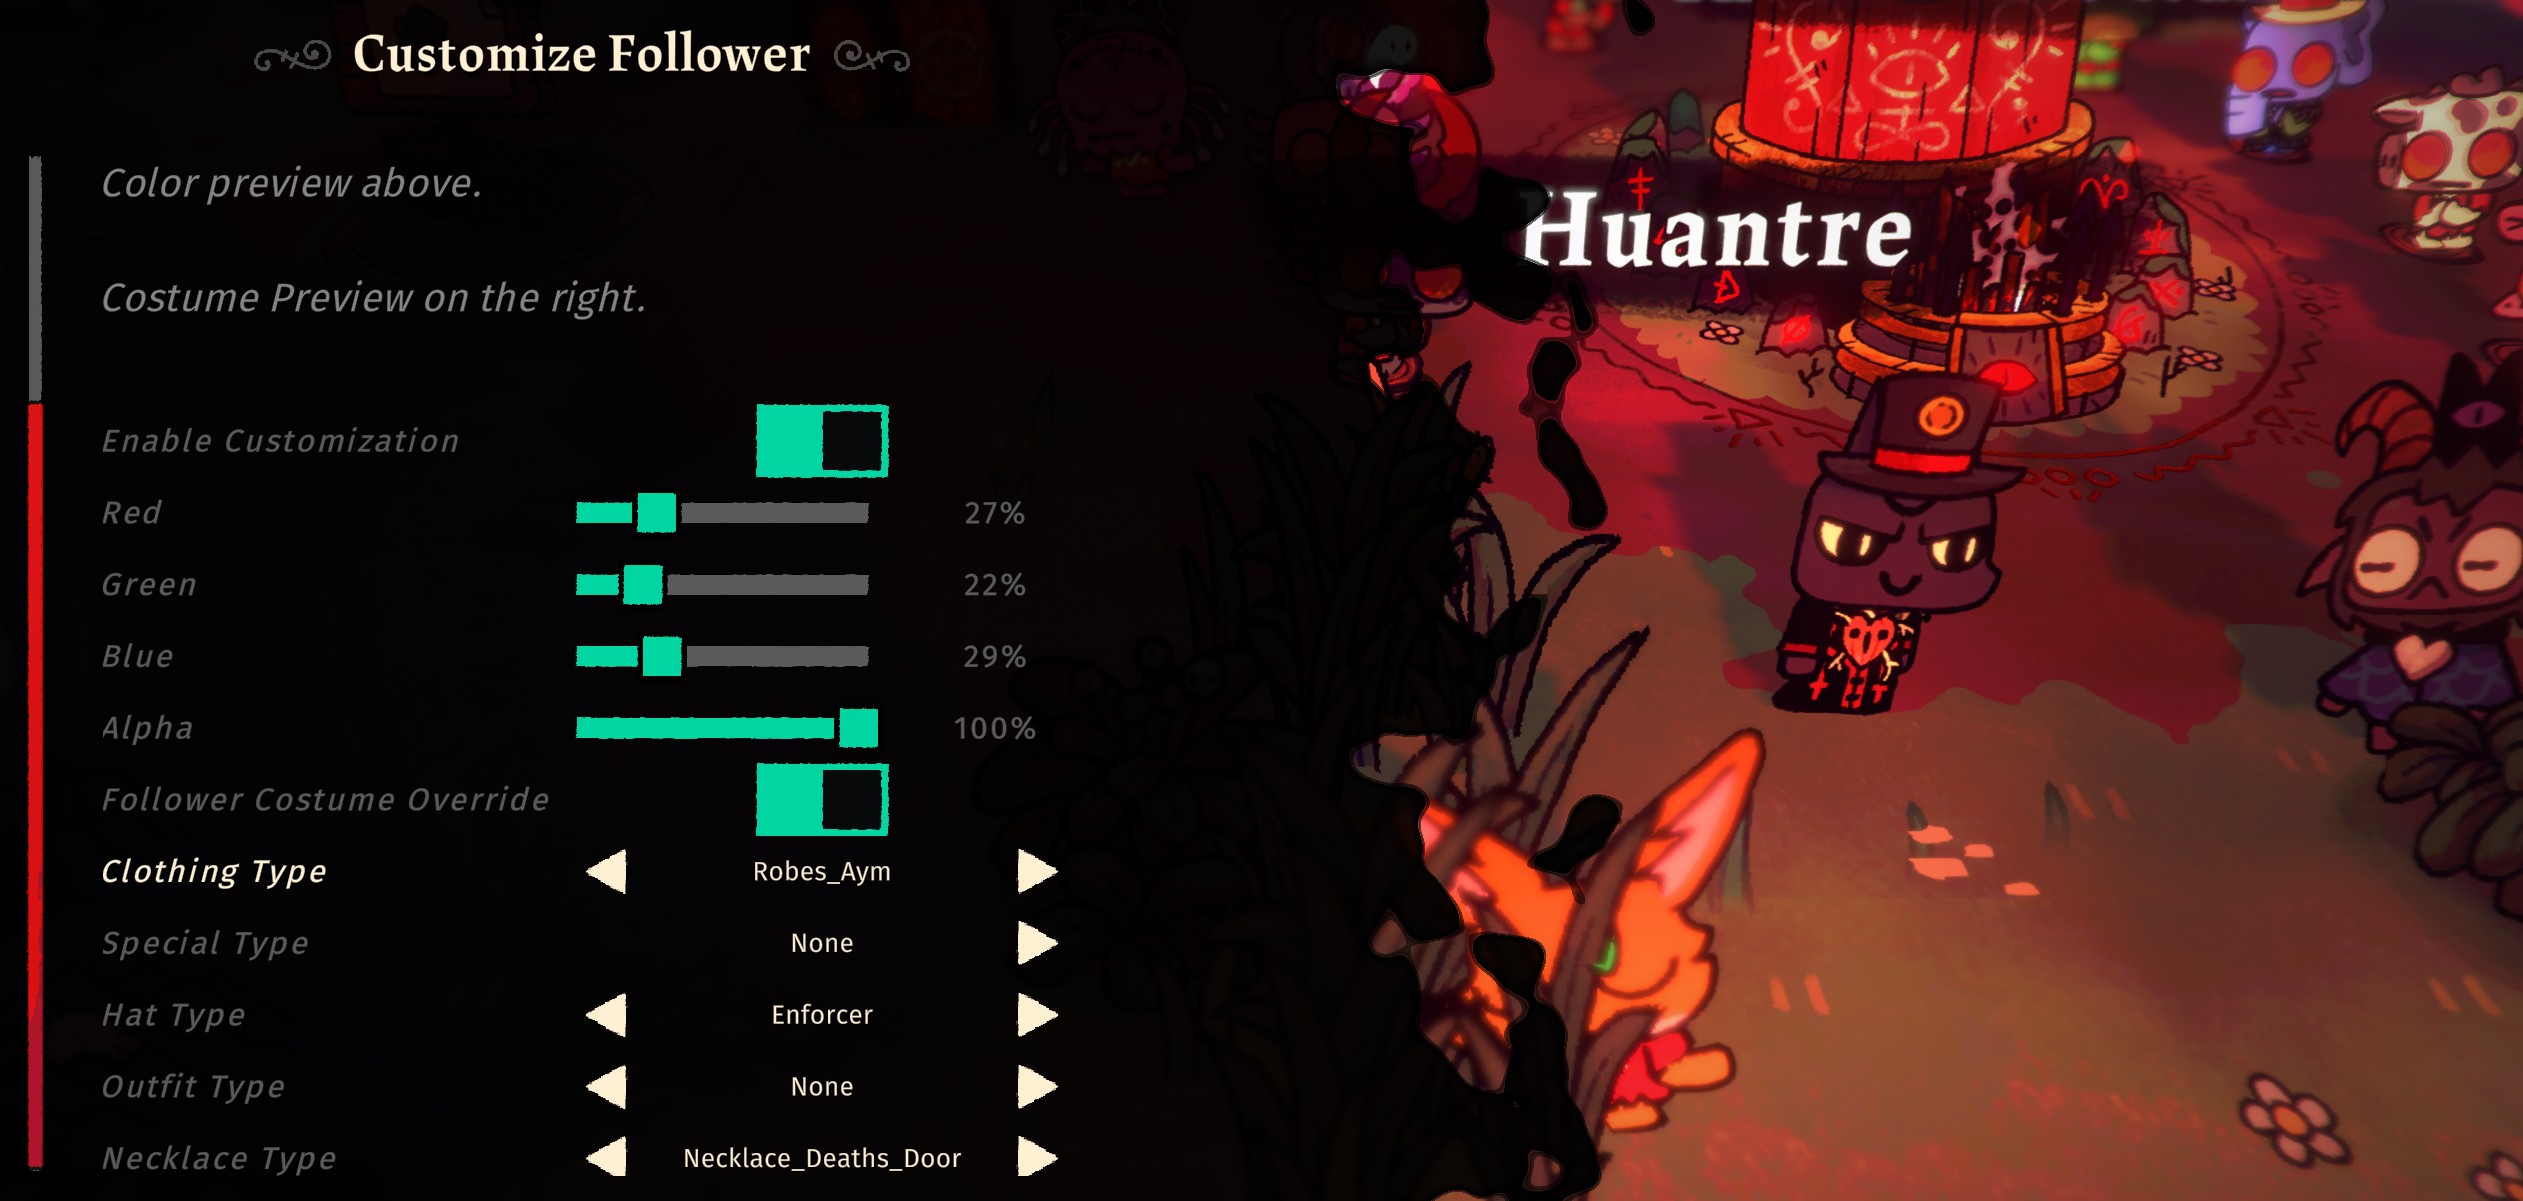
Fully control each follower's looks and outfits! You can change their Color (R,G,B,A) and what they wear (outfit, hat, necklace). This will override whatever job outfit they have and always wear the custom look instead. You must toggle "Enable Customization" for Follower Costume Override to work as well. For Custom Follower Forms, it can only be selected during indoctrination.
Custom Follower Forms
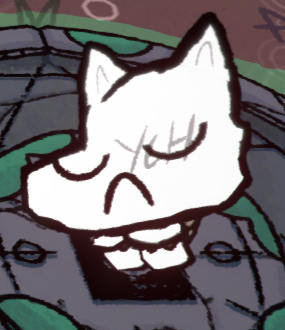
Create your own Follower Forms with variant support! Customize your Follower limitlessly!
Custom Data Loader
You can now create your own stuff to be added into the game without code!
Currently supports Custom Items, Food, Structures, Tarot Cards.
You may use the templates provided via NexusMods for creation of custom data. The templates are in JSON format and is easy to follow.
Templates include
- Follower Forms
- Player Template Skin
- Custom Data Support
Custom Player Spines
After installing this plugin correctly, you should be able to navigate to Bepinex > plugins > CultTweaker > PlayerSkins folder and setup your custom spine skins there.
Exporting a usable Spine Skin
- Ensure that you have exported the Spine Skin via
3.8.99 Spine - Export as a JSON file.
- Output:
Nonessential data: TRUE, Animation cleanup: TRUE, Warnings: TRUE - Texture atlas:
Pack TRUEwith default Pack Settings - If any warnings occur, it may be best to fix them, or the skin may not load into game.
Setting up the Player Spine Skin for Custom Spine Loader
- In the
PlayerSkinsfolder, create a new folder for each individual spine that you want to load into game - The folder should be named as your skin name, for this example, we will use
DEBUGSKINas the skin name - In the folder
PlayerSkins/DEBUGSKINadd the following files - A .json file that is your exported Spine Skeleton
- An .atlas file that is your exported Spine Atlas
- Any amount of .png files that are packed together with it
- A config.json file which specifies settings, more info below.
A Complete Skin folder would look something like this
| CultTweaker.dll
| PlayerSkins
    | DEBUGSKIN
        | player-main.json
        | player-main.png
        | player-main.atlas
        | config.json
Config File For Spine Skins
Each Spine Skin folder must have a config.json file in it. The following is how you should create the file:
{
    "fleeceCyclingOnly": true,
    "defaultSkin": "CustomSkinName",
    "skins": [
        "CustomSkinName",
        "CustomSkinName2"
    ]
}
fleeceCyclingOnly: if set to true, this will allow you to transmog the fleeces from this custom skin to other skins. This will disable this custom skin from being selected as a skin.
defaultSkin will be the first skin that is loaded when the game starts
skins is an array of any amount of strings of the Skins that exist in your Spine Skeleton that you want to load into game
Custom Follower Forms
Create your own Follower Forms! You can use the templates available via NexusMods to help with the creation.
To get started, you will need to enable the config DumpFollowerSpineAtlas in InfernoDragon0.cotl.CustomSpineLoader.cfg. This will dump the skin slots and attachment names that you will need to create your skins. The output file will be in the CultTweaker/followerSlots.json file.
In the FollowerSkins folder, create a structure that looks something like this:
| CultTweaker.dll
| FollowerSkins
    | YourSkinName
        | base
            | head.png
            | config.json
        | variant
            | head.png
            | config.json
The template skin will also provide you with the correct folder structure. Note that variants do not have color support and will only take their color from the base skin.
Config file for Custom Follower Forms
Create a JSON file with partConfigs as the main key.
Only SlotIndex and PartName is required, the rest of the values are optional.
Default values are scaleX: 1, scaleY: 1, rotation: -90, offsetX: 0, offsetY: 0
colorChoices must have the same length for each partConfig, otherwise it will not be added.
Each partConfig is named after the image file without the extension. part2.png = part2
Image file is optional, if you do not have one, you can override slot colors by adding partConfigs, like color_leg_left
{
    "overrideBaseSkin": "Cat",
    "partConfigs": {
        "part2": {
            "SlotIndex": 89,
            "PartName": "HEAD_SKIN_BTM",
            "scaleX": 1.0,
            "scaleY": 1.0,
            "rotation": -90.0,
            "offsetX": 0.0,
            "offsetY": 0.0,
            "colorChoices": ["#FF0000"],
        },
        "part1back": {
            "SlotIndex": 89,
            "PartName": "HEAD_SKIN_BTM_BACK",
            "colorChoices": ["#FF0000"]
        },
        "part2top": {
            "SlotIndex": 91,
            "PartName": "HEAD_SKIN_TOP",
            "colorChoices": ["#FF0000"]
        },
        "part1backtop": {
            "SlotIndex": 91,
            "PartName": "HEAD_SKIN_TOP_BACK",
            "colorChoices": ["#FF0000"]
        },
        "color_leg_left": {
            "SlotIndex": 48,
            "PartName": "LEG_LEFT_SKIN",
            "colorChoices": ["#0000FF"],
        },
        "color_leg_right": {
            "SlotIndex": 49,
            "PartName": "LEG_RIGHT_SKIN",
            "colorChoices": ["#0000FF"]
        }
    }
}
Override existing structure designs
Create a folder named after the structure you want to override in BuildingOverrides folder. Add images and a config.json file.
A Complete structure skin folder would look something like this
| CultTweaker.dll
| BuildingOverrides
    | FISHING_HUT
        | fishing_hut_BACK.png
        | fishing_hut_FRONT.png
        | config.json
Config file for Structure Overrides
Each Structure Override Skin folder must have a config.json file in it. The following is how you should create the file:
{
    "overrides": [
        {
            "spriteImageName": "fishing_hut_BACK.png",
            "offset": { "x": 0, "y": 0, "z": 0 },
            "scale": { "x": 1, "y": 1, "z": 1 },
            "rotation": { "x": 0, "y": 0, "z": 0 }
        },
        {
            "spriteImageName": "fishing_hut_FRONT.png",
            "offset": { "x": 0, "y": 0, "z": 0 },
            "scale": { "x": 1, "y": 1, "z": 1 },
            "rotation": { "x": 0, "y": 0, "z": 0 }
        },
    ]
}
Change your offset and rotation accordingly, so as to build your structure design.
Few things to note when building the custom structure design:
- when sprites are rendered at ROTATION 0,0,0 it will place the sprite flat against the ground.
- an OFFSET Z of at least -0.027 should be applied to flat sprites to remove z fighting, then to place other sprites above it, go more negative such as -0.04
- if the sprites should be facing the camera, a ROTATION of 300,0,0 is necessary
Known Issues
- The Custom Player Spines may not have the correct color when attacking with certain weapons.
- Custom Follower Forms + Follower Customization Color may lead to incorrect preview in the UI.
Supporters
- Midboy
- Anorak2023
- The Seraph of Tomorrow
Contributors
- Thumbnail Art by LiteLikesArt
- Preview Player Skin by Fiore
- Template Follower Form by Ruff
- Preview Fishing Hut Structure by hallejr
Developed by InfernoDragon0
Try CotLMiniMods for lots of custom stuff, or Supercharged Tarots for overpowered tarots, and Supercharged Followers to bring your followers to battle!