
SkillsPreview
Custom skills mod for Valheim. Extends and enhances the default skill system.Skills Preview
 English |
  Polish |
  French |
  German |
  Ukrainian |
  Spanish |
  Portuguese |
  Italian
Note: This plugin is currently under active development. Bugs may occur and features may change in future versions.
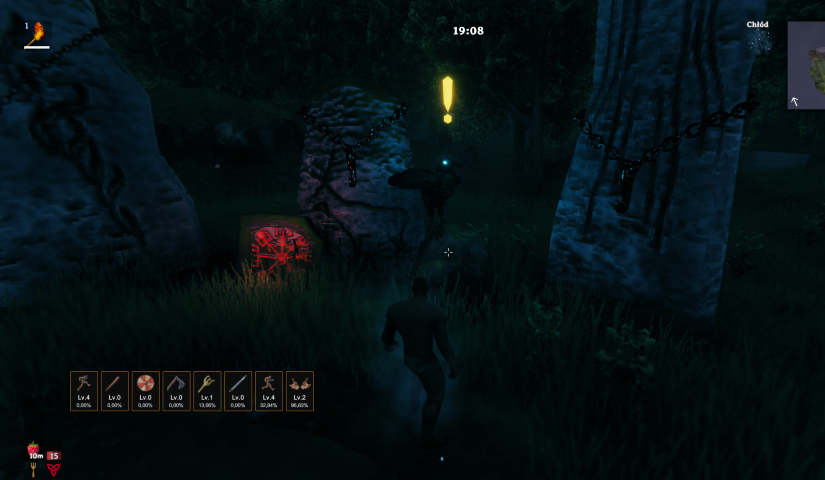
Skills Preview is a Valheim mod that adds compact HUD widgets for your chosen skills. It gives you a quick glance at each skill's level and progress without ever opening the character window.
Each widget shows:
- the skill icon,
- current level (e.g.
Lv.45), - percentage progress to the next level (e.g.
72.00%), - a thin progress bar at the bottom that fills with the current XP %,
- a flash animation when you level up.
On top of the widgets, the mod also pops a Valheim-style level-up banner in the centre-top area of the screen whenever one of your favourited skills gains a level — position, duration, font size, and colour are all configurable.
Table of Contents
Requirements
- Valheim — (current Steam version)
- BepInEx — Valheim modding framework (version 5.x required)
Installation
Manual
- Download the latest release from the Releases tab.
- Make sure BepInEx is installed. If it isn't, grab it from the project page and follow the setup instructions there.
- Copy
SkillsPreview.dllinto:<game_directory>/BepInEx/plugins/ - Launch the game — the plugin loads automatically.
- You can confirm it loaded by checking the BepInEx console.
Via mod manager (e.g. Thunderstore Mod Manager)
Search for Skills Preview in the manager and click "Install".
How to Use
- Open the skills window (
Lby default). - A star icon appears next to each skill — click a skill to mark it as a favourite. Skills are tracked in the order you select them.
- Your favourited skills show up as HUD widgets during gameplay.
- Widgets can be repositioned and resized through the settings panel (see Configuration).
Configuration
In-game settings panel
The plugin includes a built-in settings panel accessible directly from the skills window. You can change the following without leaving the game:
- Theme presets — one-click apply of a complete colour + size scheme: Valheim (default warm gold/brown), Dark, Minimal, High contrast,
- HUD panel position — where the widgets appear on screen (default: bottom-left corner near the player stats),
- HUD scale — uniform scale of the entire widget panel (50–150 %, default 100 %), without changing individual size values,
- Widget element colours — background, border, level text, progress text, "MAX" colour, level-up flash colour, progress bar track,
- Star colours — active (favourited) and inactive star colours,
- Widget size and appearance — width, height, icon size, font sizes, corner rounding, border thickness, spacing between widgets, progress bar visibility and height,
- Level-up banner — toggle the centre-top banner on/off, distance from the top of the screen (% of screen height), how long it stays visible, font size, and text colour.
Numeric settings (sizes, font sizes, spacing, scale, etc.) are adjusted with sliders directly in the panel; position X/Y still use text input fields.
Every option has a ↺ button to reset it individually, or you can hit Reset all to restore all defaults at once.
Config file
Settings are saved automatically to:
<game_directory>/BepInEx/config/godzki.skills_preview.cfg
You can edit this file in any text editor. Each option has a comment explaining what it does. Changes made manually take effect after restarting the game.
All configuration options
[1 - General]
| Key | Description |
|---|---|
DebugMode |
Enables verbose logging in the BepInEx console |
HudWidgetsVisible |
Shows or hides the HUD widgets (does not affect the skills panel) |
[2 - Skill Panel]
| Key | Description |
|---|---|
FavoriteStarColor |
Star colour for a favourited skill |
UnfavoriteStarColor |
Star colour for a non-favourited skill |
[3 - HUD Position]
| Key | Default | Description |
|---|---|---|
PositionX |
150 |
Horizontal position of the widget panel (px from the left edge of the screen) |
PositionY |
200 |
Vertical position of the widget panel (px from the bottom edge of the screen) |
Scale |
100 |
50–150 |
[4 - HUD Widget]
| Key | Default | Range | Description |
|---|---|---|---|
Width |
60 |
30–200 | Width of each widget in pixels |
Height |
86 |
30–200 | Height of each widget in pixels |
IconSize |
40 |
10–100 | Skill icon size inside the widget (px) |
FontSizeLevel |
13 |
6–30 | Font size for the level text (e.g. Lv.45) |
FontSizeProgress |
11 |
6–24 | Font size for the progress text (e.g. 72.00% or MAX) |
Spacing |
6 |
0–30 | Gap between widgets in the horizontal panel (px) |
BorderSize |
2 |
0–10 | Border thickness for each widget (px) |
CornerRadius |
6 |
0–20 | Corner rounding radius (px); 0 disables rounding |
LevelUpDuration |
1.5 |
0–5 | Duration of the level-up flash effect (seconds) |
ProgressBarVisible |
true |
Shows the thin progress bar at the bottom of each widget | |
ProgressBarHeight |
4 |
0–12 | Height of the progress bar in pixels |
BorderColor |
Widget border colour | ||
BackgroundColor |
Widget background colour (RGBA) | ||
LevelColor |
Skill level text colour | ||
ProgressColor |
Progress percentage text colour (also fills the progress bar) | ||
ProgressMaxColor |
Text colour for MAX when a skill reaches level 100 |
||
LevelUpColor |
Border flash colour on level-up | ||
ProgressBarBgColor |
Track (background) colour of the progress bar |
[5 - Level-up Toast]
| Key | Default | Range | Description |
|---|---|---|---|
Enabled |
true |
Toggles the centre-top level-up banner on/off | |
PositionTopPercent |
20 |
0–50 | Vertical position of the banner as a percentage of screen height measured from the top |
Duration |
3 |
1–10 | How long (seconds) the banner stays visible, including fade-in/out |
FontSize |
28 |
14–50 | Font size of the banner text |
Color |
Banner text colour (RGBA); default is a warm Valheim gold |
Troubleshooting
Plugin doesn't load / no widgets visible
-
Delete the config file — a corrupted or incompatible config can prevent the plugin from loading. The file is located at:
<game_directory>/BepInEx/config/godzki.skills_preview.cfgDelete it and start the game again — it will be recreated with default values.
-
Check your BepInEx version — this plugin requires BepInEx 5.x. Version 6.x is not currently supported.
-
Make sure the
.dllis in the right folder — the path should beBepInEx/plugins/, notBepInEx/directly.
Diagnosing issues with debug mode
- Open
godzki.skills_preview.cfgin a text editor. - Under
[1 - General], set:DebugMode = true - Launch the game and check the BepInEx console (or
BepInEx/LogOutput.log). The detailed logs should point you to the root cause. - Once the issue is resolved, turn debug mode off by setting
DebugMode = false.
Plugin conflicts with another mod
Check BepInEx/LogOutput.log for errors. If it looks like a conflict with a specific mod, please open a report in the Issues tab — include your mod list and the relevant error from the log.
AI Assistance
AI-powered tools were used during development to assist with problem analysis and code refactoring.